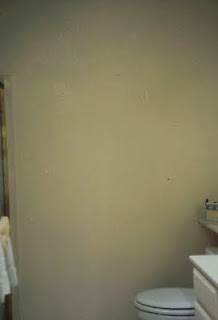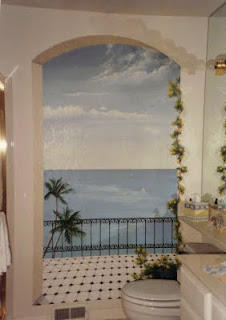

The picture on the left is the before picture of an ordinary small bathroom. On the right is an illusion painted on the wall.
Preparing your wall properly insures the best outcome. When your mural wall is in good shape (holes patched, bumps smoothed, fresh coat of paint) you are ready to tape off the area. Masking tape (blue is best) should be pressed along all edges of the painting, floor boards, doors, windows, switch plates, etc. A precise taping job helps to accomplish a professional looking mural. As soon as your painting is finished and dry, gently pull the tape off. The sooner the tape comes off the better.
Begin painting the thing that is furthest away, usually the sky. Skys can have much to say in a picture. They tell the time of day or night, the weather and they add color and mood. Even if there is only a small piece of sky showing through a window or balcony, it is still important and still goes first. The window frame will be painted over the sky.
Painting a sky can be pretty tricky, especially with acrylic paint because it drys so fast. Naturally, you will want your sky to be darker at the top of the picture and gradually lighten as it gets closer to the horizon. I not only lighten by adding white, I also add a little yellow to show depth in the atmosphere. (dirty air)
Mix your deepest blue, or other sky color, first. Pour about half of that color into another container. Add white to this batch until it is a shade lighter than the first color. Now, pour half of the new mixture into another empty container and add white plus a little yellow until it is a shade lighter than the last batch. You can do this one more time if you like. This will give you three or four shades to blend.
Start brushing on your deepest shade using a two or three inch brush. Work fast, beginning at the top of the picture, then blend the second darkest shade with quick up and down strokes, finishing with side to side until blended. The lightest shade will be last and closest to the horizon. Again, all blending must be done quickly as the paint dries fast.
No comments:
Post a Comment